Another year has passed and now we’re here in 2021, all hoping to get back to a more normal life sometime this year.
Anyway, over the holidays I’ve spent a little more time working on my upcoming Quake 1 map, “Fire, Water, Squish“. I had to create an outdoor bit for a part of the map and wanted to have some kind of water, surrounded by hills or mountains. As creating the brushes manually seemed to be to tedious and error prone (not creating any errors during vertex manipulation, correctly snapping to the grid etc.), I looked into terrain generators that could export in Quake 1 map format.
There are (or better: were) a couple of tools available, but due to the age of the game (remember, released in 1996) the most promising one wasn’t available any more: http://nemesis.thewavelength.net/.
The site seems to have been down for a while, but thanks to the Internet Archive and some more research I found the old pages and finally also someone who copied all of the over to https://nemstools.github.io/.
The tool of interest for my purposes is the Terrain Generator, available for download from the linked page. After fiddling around with it for a bit, I managed to create some hills for my outdoor area of my map. Quite useful as a starting point was my Photoshop copy and its “Render Clouds” and “Difference Clouds” functions for generating a height map that I then used for the Terrain Generator.
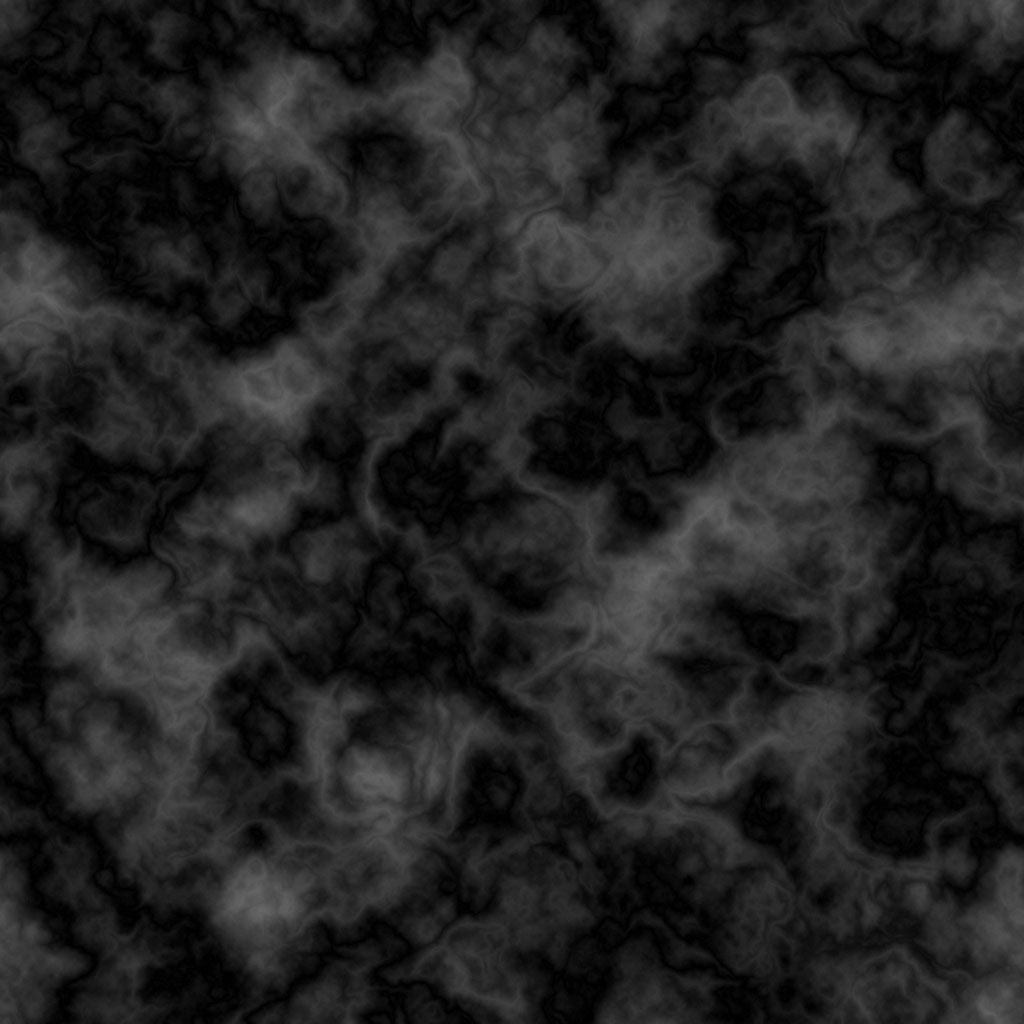
Steps in Photoshop
- Create a new square image (512×512 should be enough)
- Fill with a medium grey
- Filter -> Render -> Render clouds
- Filter -> Render -> Difference clouds
- Repeat the last step until you find it to be a suitable starting form for the type of terrain you have in mind
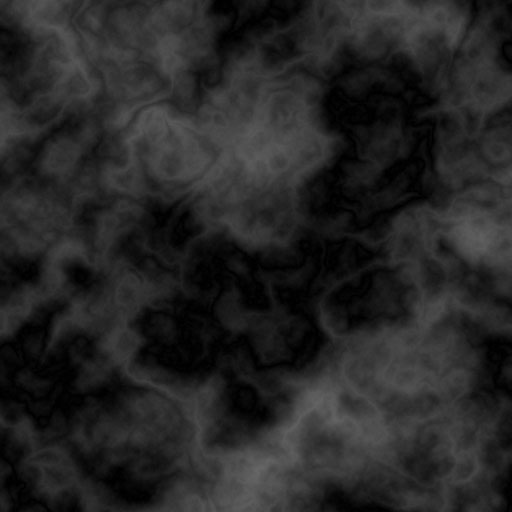
- For my example I cut out a portion of the upper right corner of the previous image
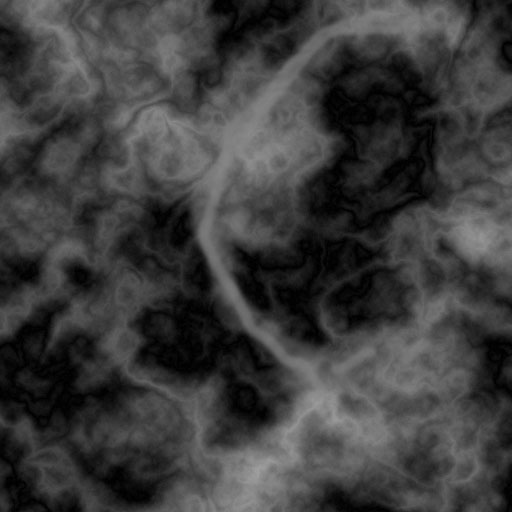
- As I wanted to have a “lake area” surrounded by hills/mountains, I drew a kind of white border (with a soft brush) as shown below
- As a last step in Photoshop, I selected the general lake area (you can either do it with the Magic Wand selection tool or just by the “Lasso”)
- “Feather” your selection so that it doesn’t have sharp edges (depending on the size of your image, for me I chose something like 10 pixels)
- Fill the selection with black (that is the lowest part of your height map – white is highest)
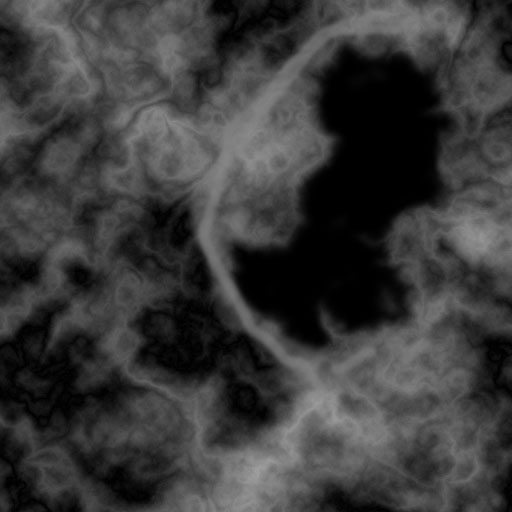
Now save this file.
Terrain Generator Steps
- Enter CTRL-N (or File -> New) to start with a new terrain. For my example I used 32 x and 32 y triangles with a size of 512 (which turned out to be too large later, but nevermind)
- Keep in mind: The more triangles you use, the better your terrain looks, but also the more triangles (and brushes) in total you will get, so be careful!
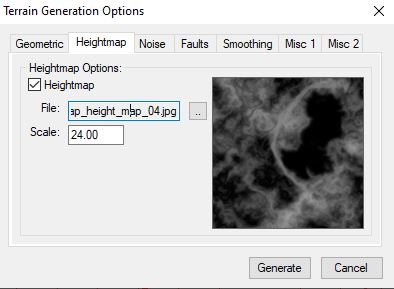
- Then open the terrain generation options with CTRL-G (or Terrain -> Generate)
- Switch to the “Heightmap” tab
- Check the “Heightmap” checkbox and then select the file with your height map that you created before
- Set the “Scale” to a suitable factor (this controls how far apart the highest and lowest point in your terrain are apart), for my it worked with 24
- Click on “Generate”
The generated terrain is shown in the editor and can now be exported (File -> Export -> Map file)

Steps in your Quake editor (here: J.A.C.K. Hammer)
- Now import the map file into your Quake editor
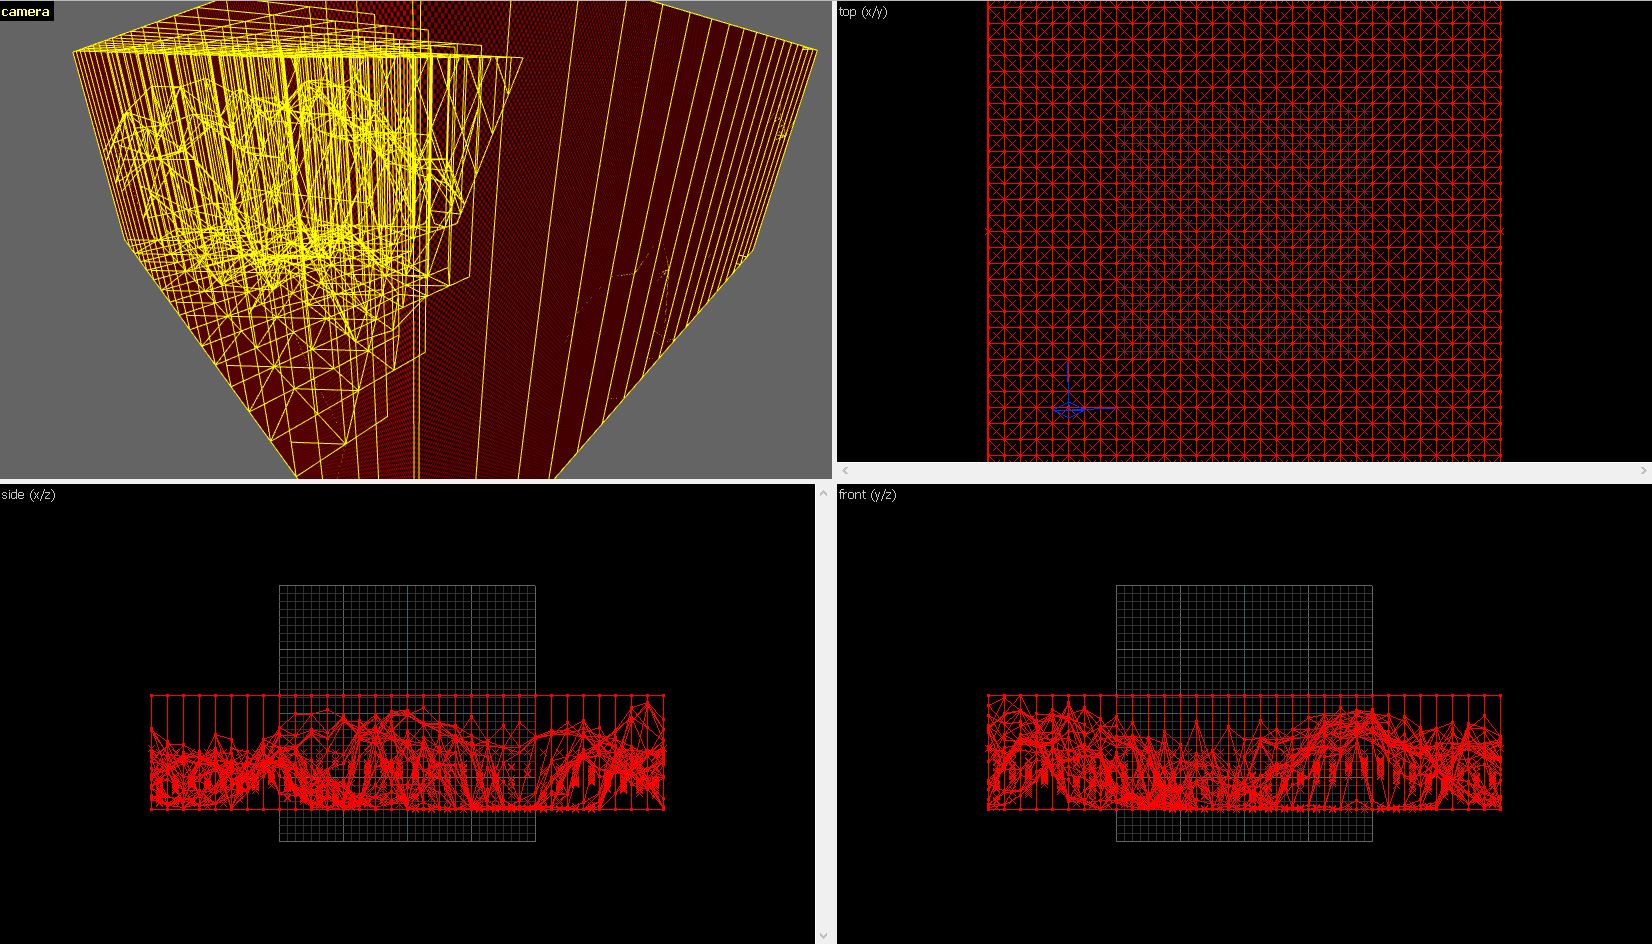
- As you can see in the screenshots, there is still some work to do
- Remove the surrounding “wall” brushes around your terrain
- Delete the “cover brushes” from each of the individual triangle brushes
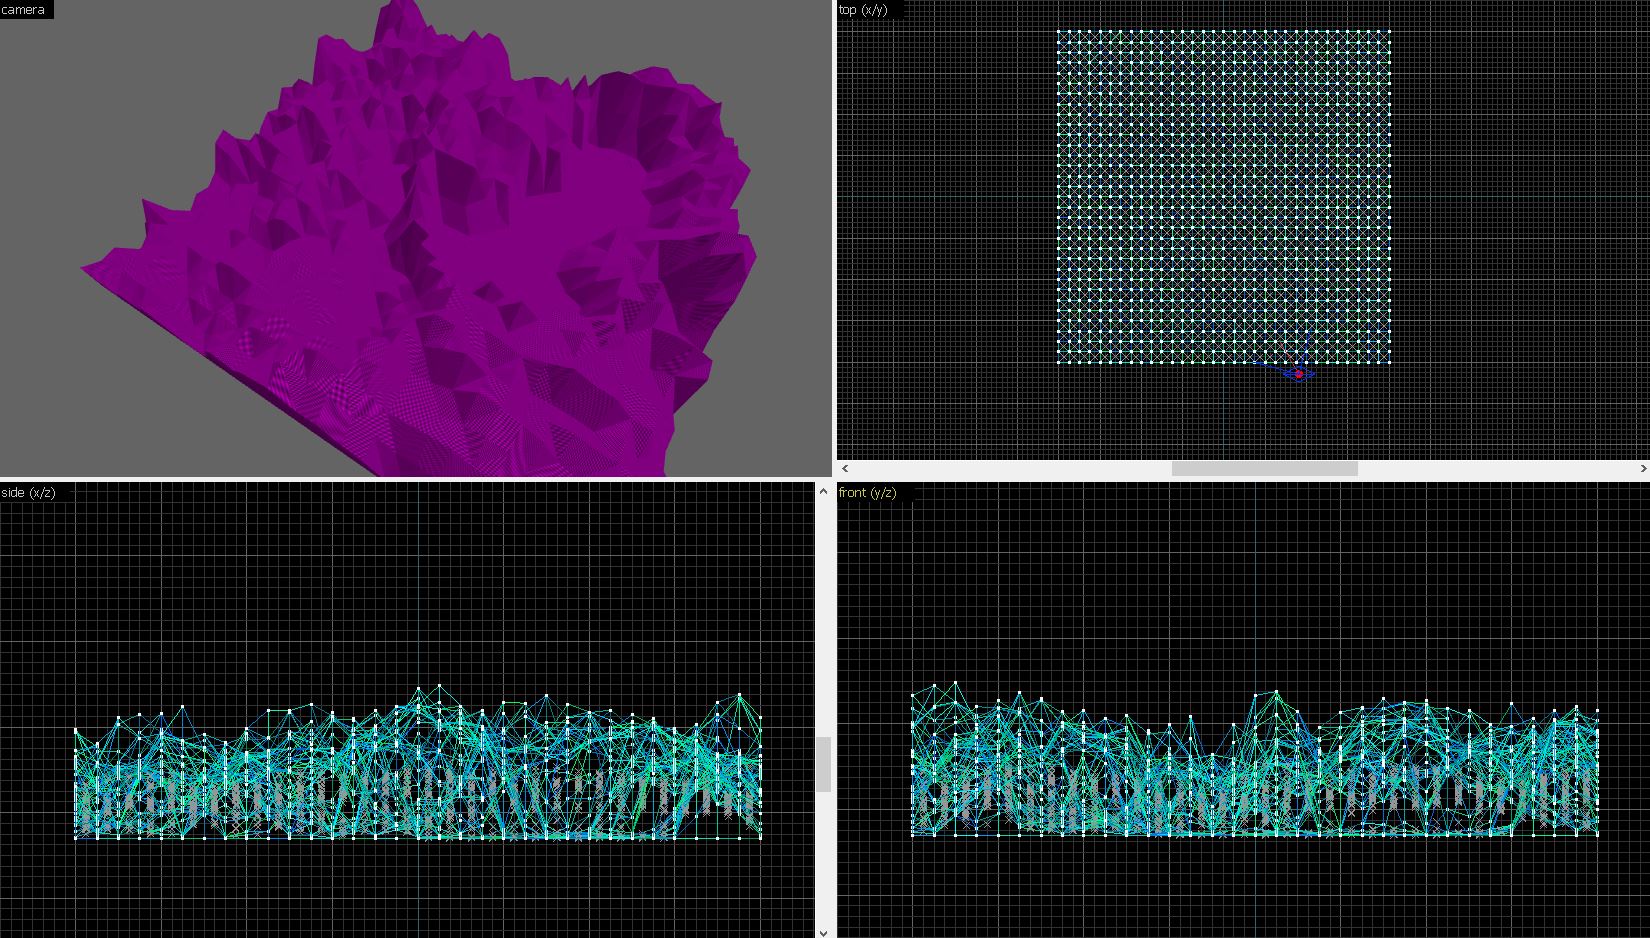
- To do this without spending all day, you can quite easily select multiple rows of brushes in the side views by selecting the “cover brushes” and simply deleting them (see this in progress on the second screenshot below)

- Once you’re finished, you can see your new terrain in all its glory
- As you may also see (following up on my comment above), the terrain is way too large for Quake mapping purposes (at least for mine), so I should have gone for a smaller triangle size in the Terrain Generator
- Just select all the brushes and then scale transform them to about 0.125 of there current dimensions (or whichever value you need)
- Now you still have to add a suitable texture, so apply one (and maybe also some water as shown below)
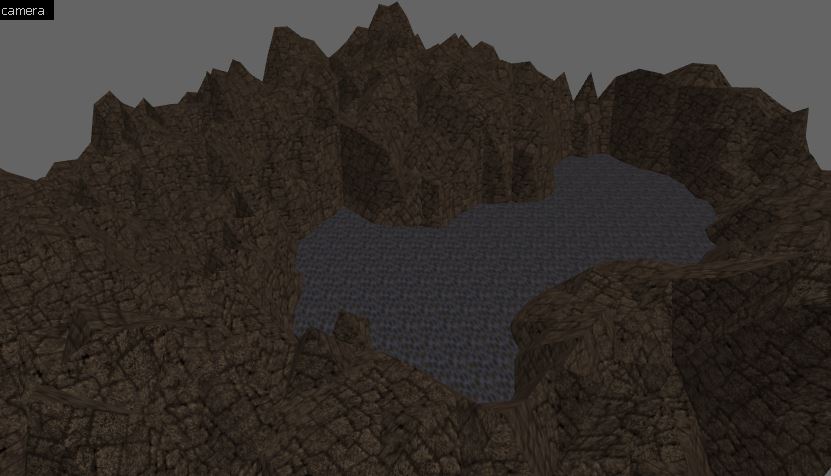
- Now you’re done and you can import your terrain into any of your existing maps and use it there (or start building a map from your terrain)
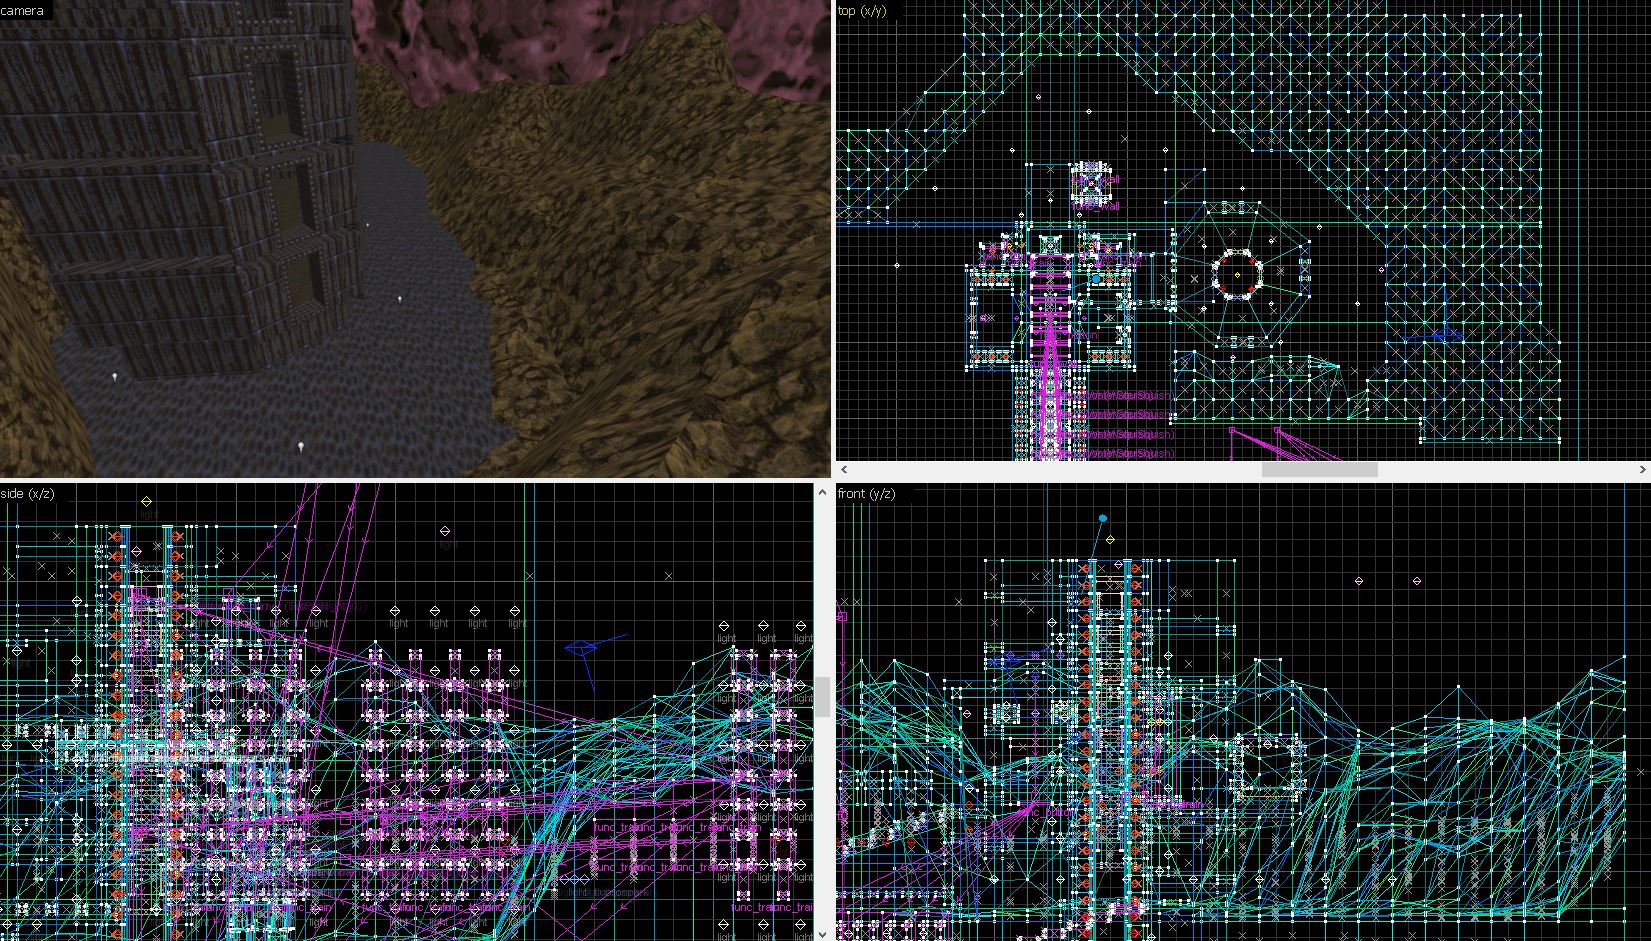
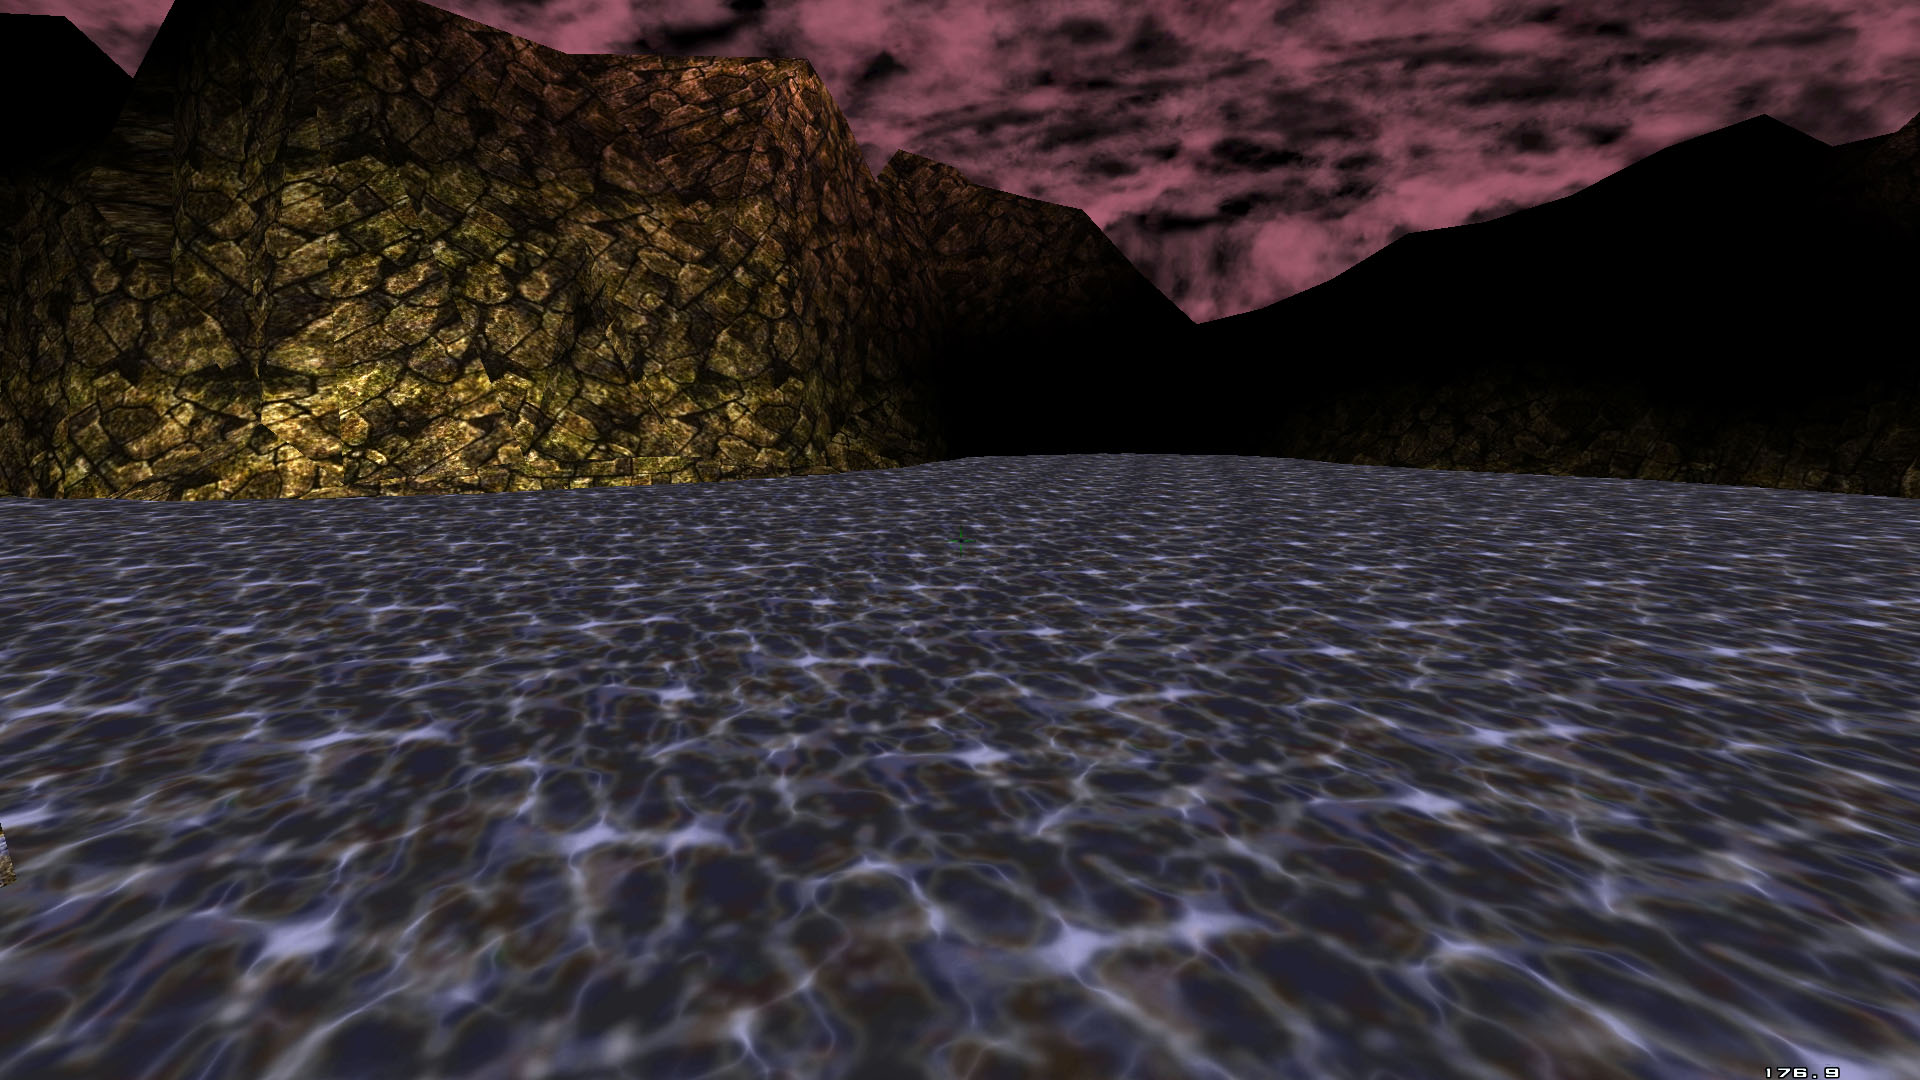
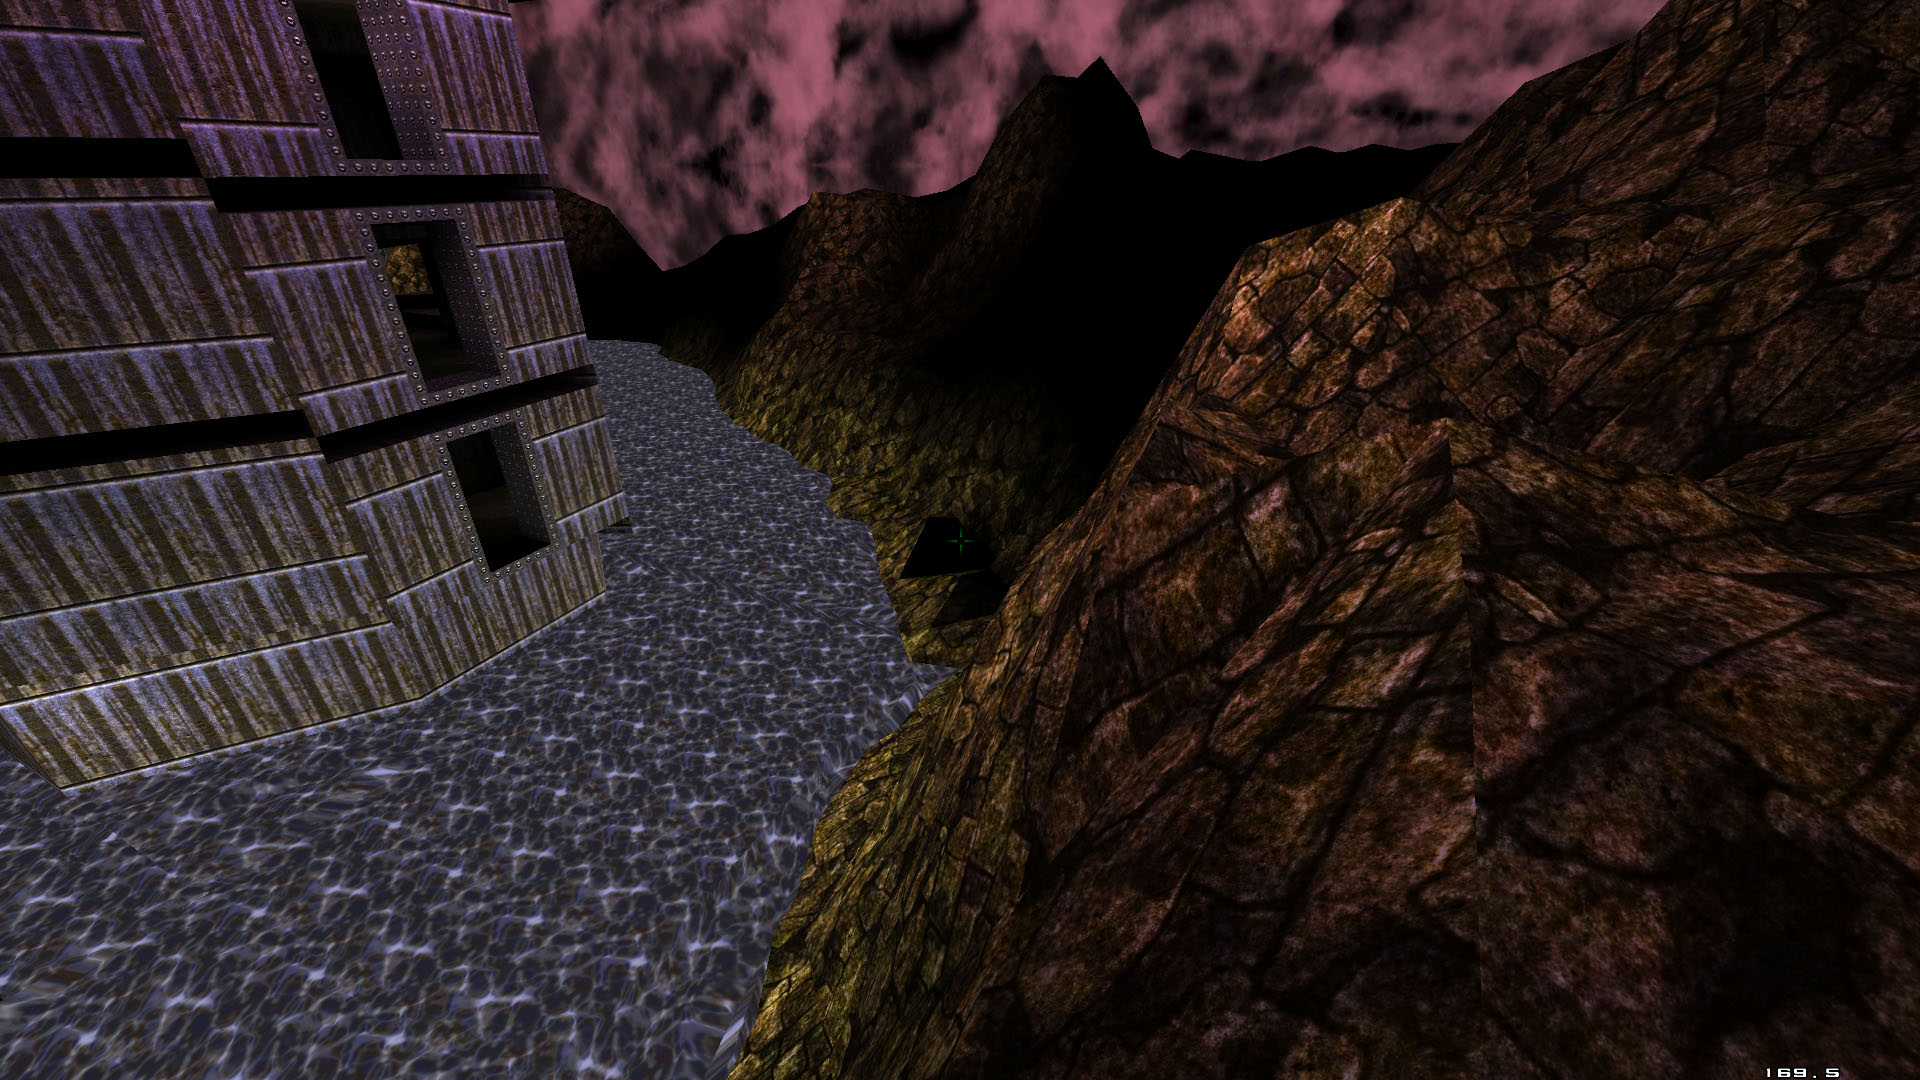
Fire, Water, Squish
In my map I used the approach with only some minor variations. After I imported the terrain, I deleted those parts that I didn’t need to reduce the number of brushes. See the following screenshots for some editor views and from within the game (please bear in mind that the lighting isn’t finished, it’s just provisional to get an idea of what it all looks like).
1 thought on “Happy New Year (and a bit about terrain generation for Quake 1 maps)”